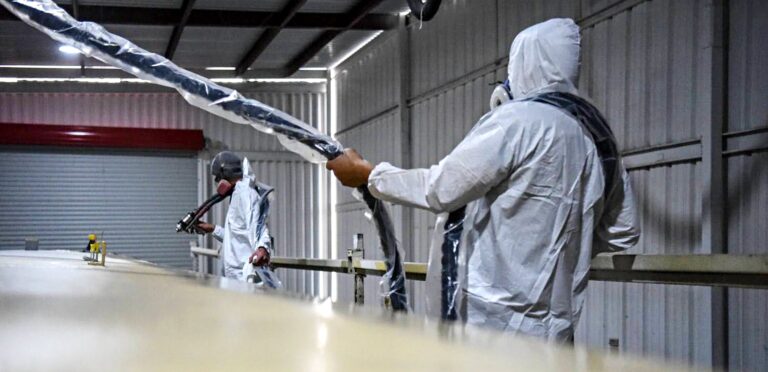

RV Roof Sealant: The Right One for Every Seam & Vent
Self-leveling, non-sag, butyl or tape: matched to your roof membrane and the exact joint you’re sealing, with tube counts and cure times pulled from the manufacturers’ own data sheets.
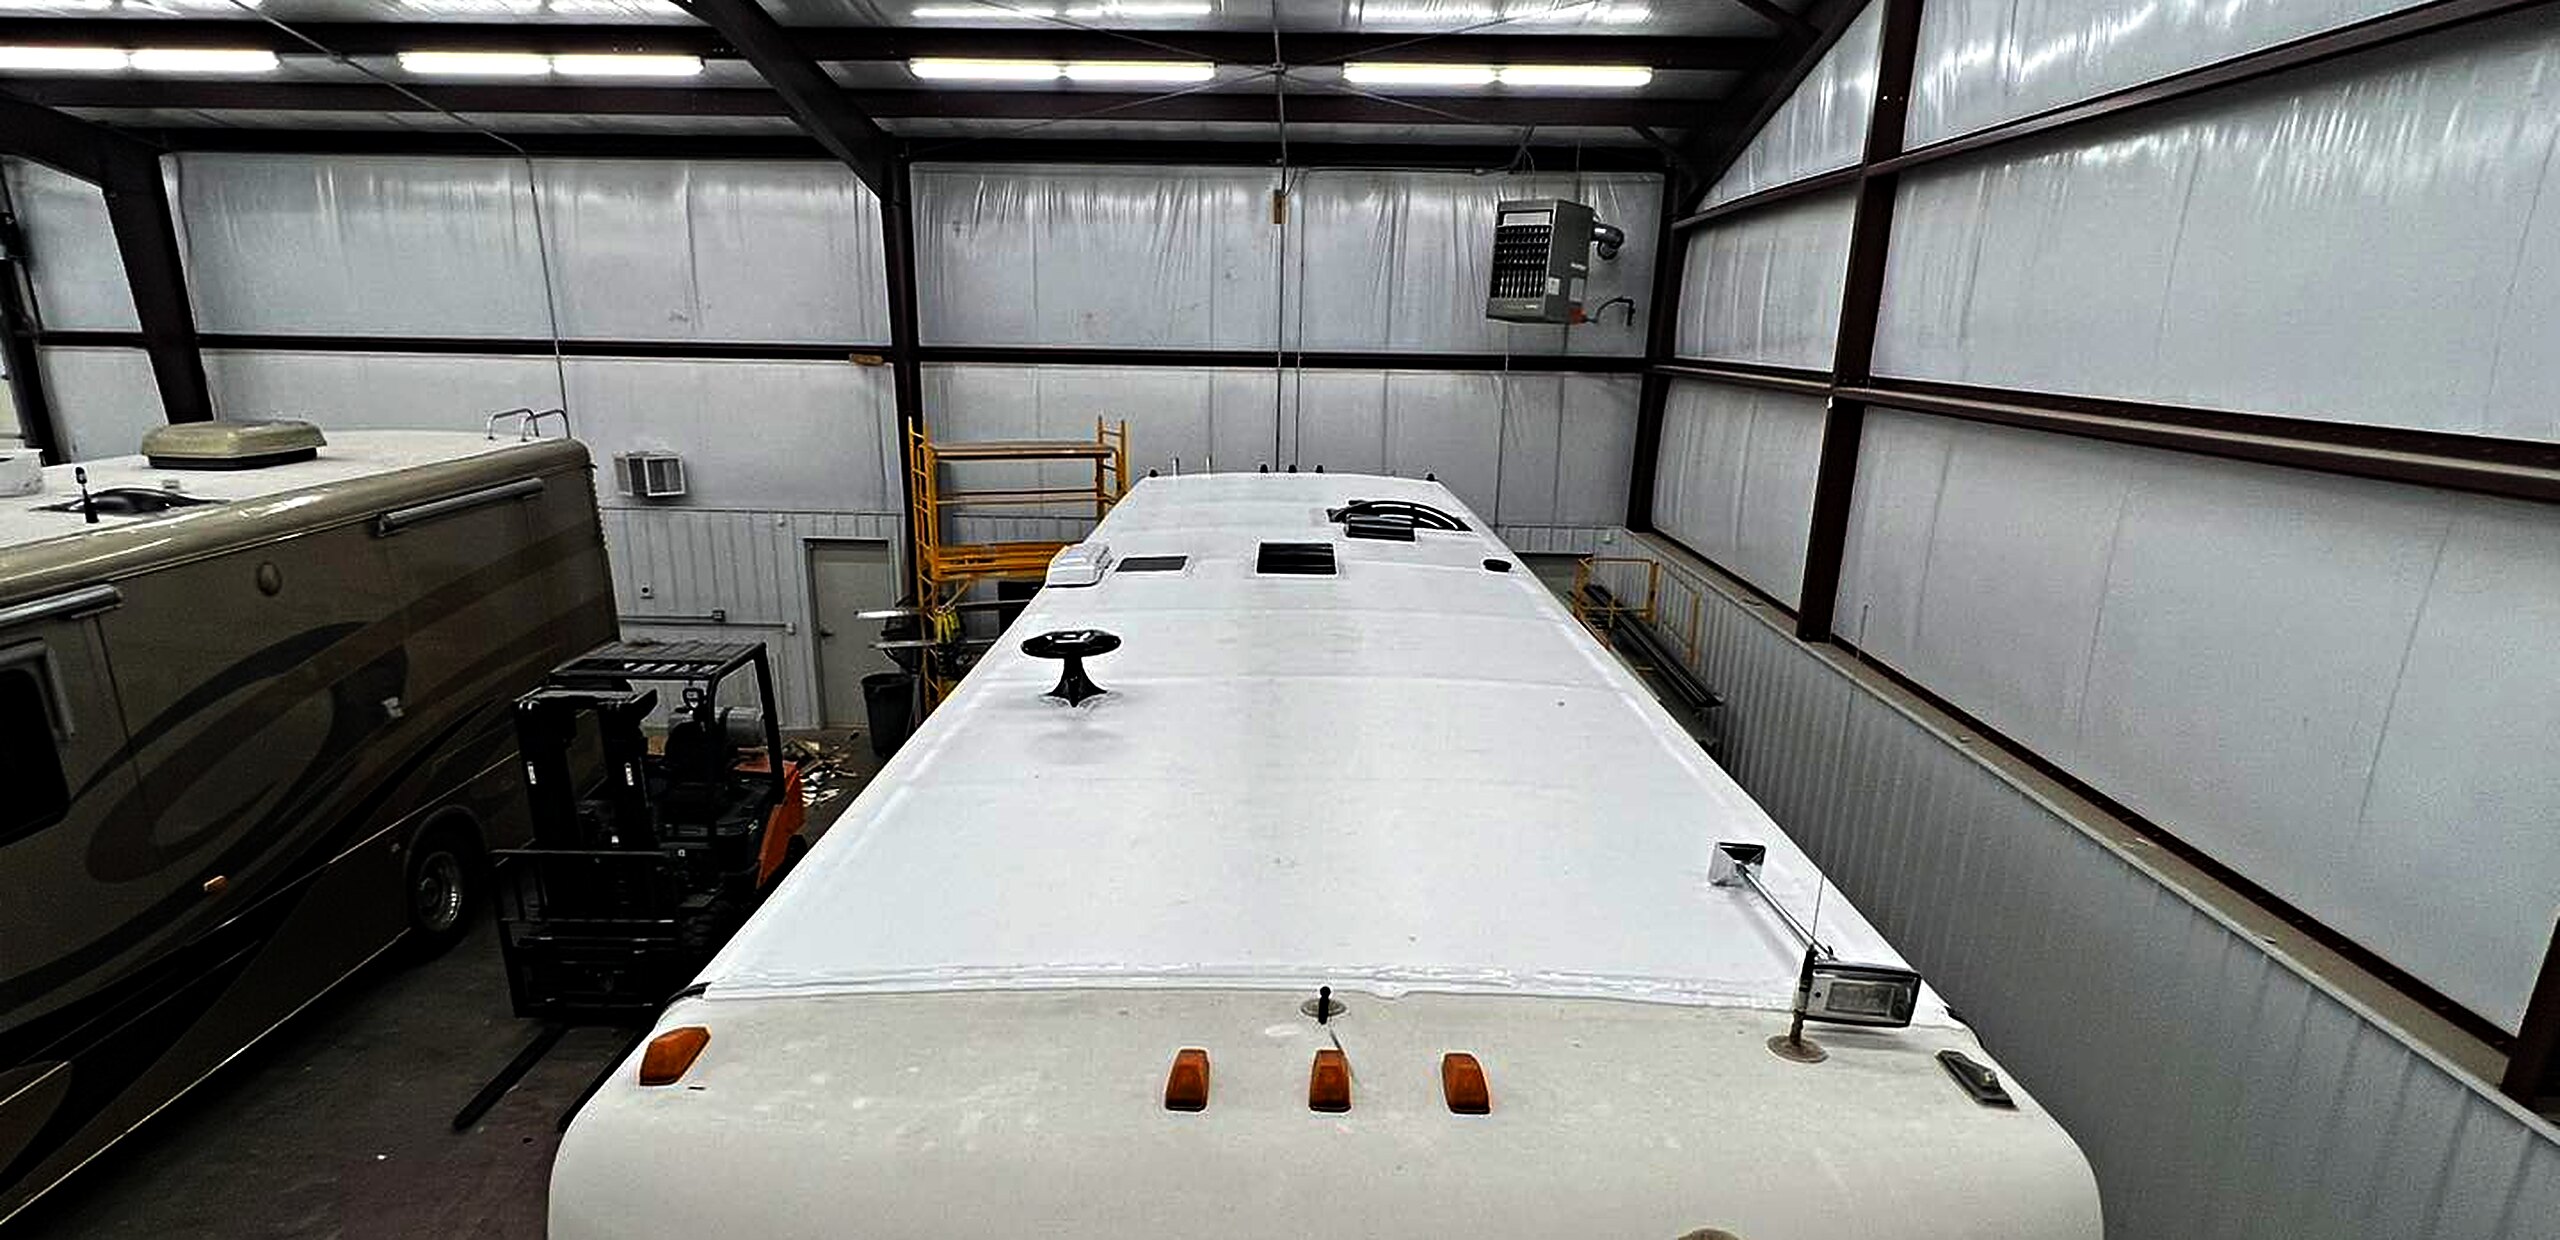
Start an RV roof coating business
Spray RV roofs for a living.
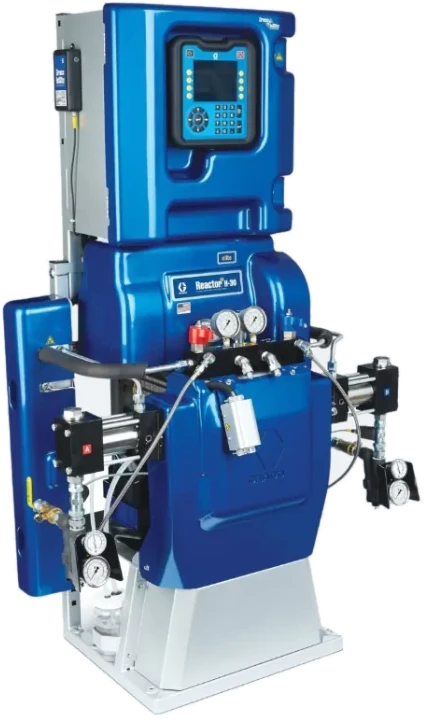
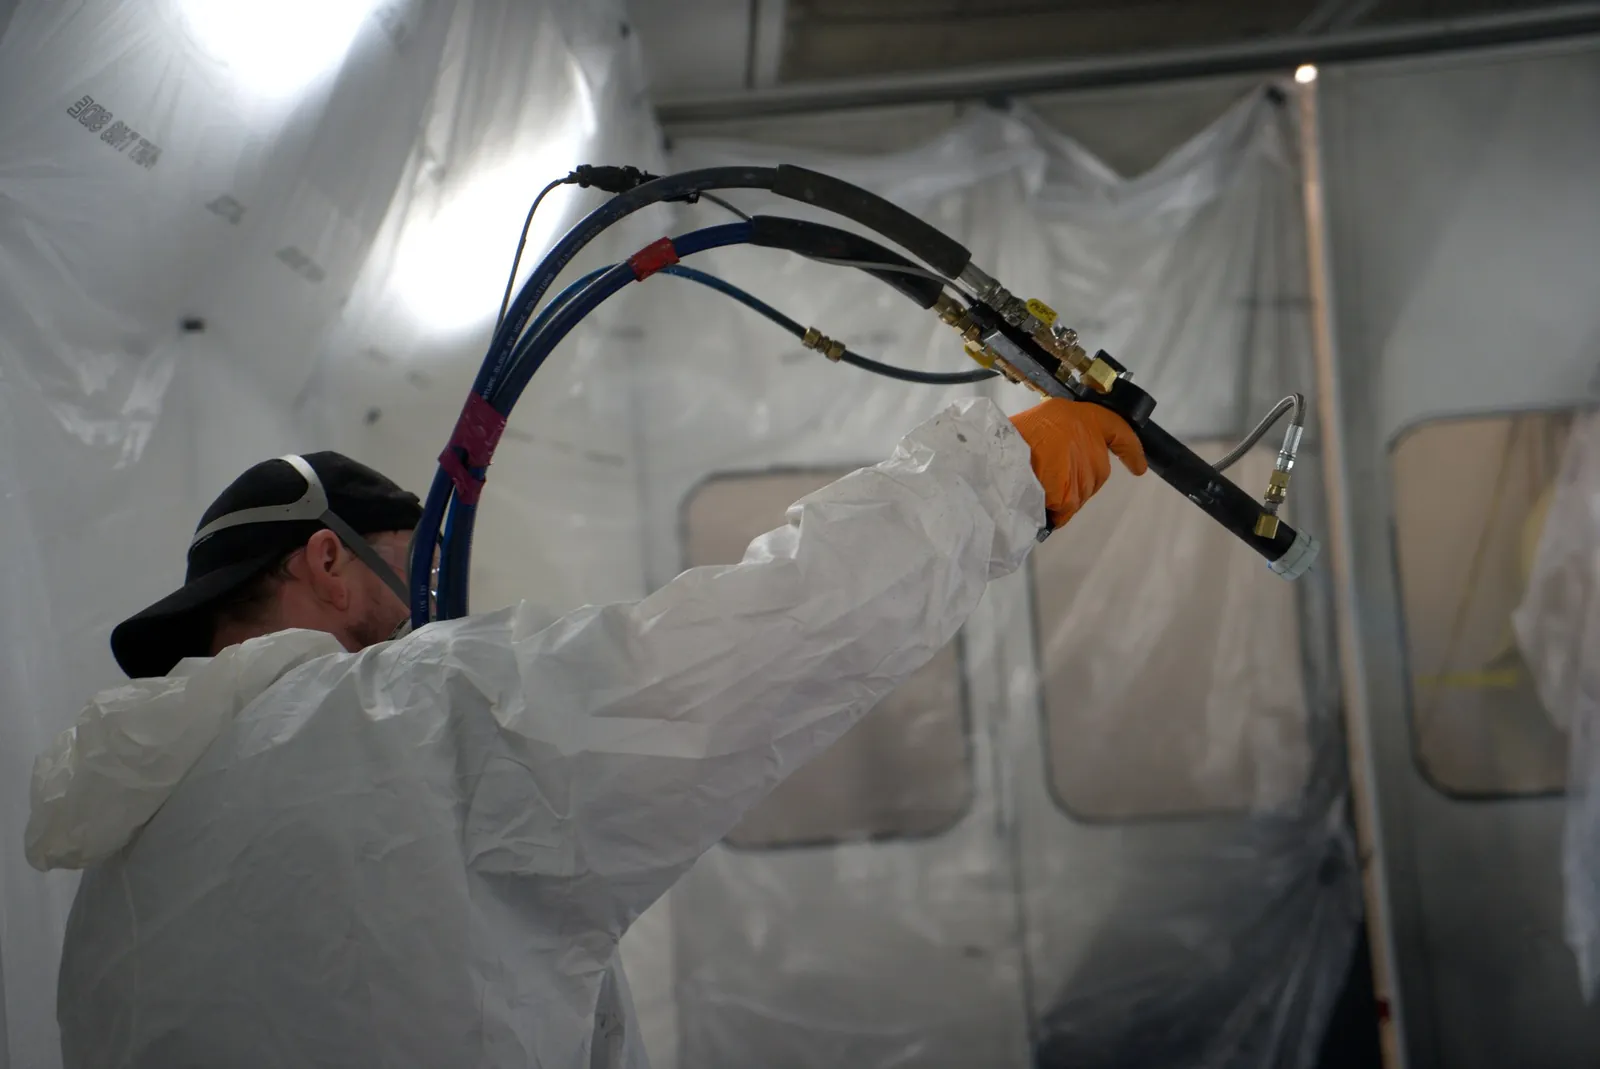
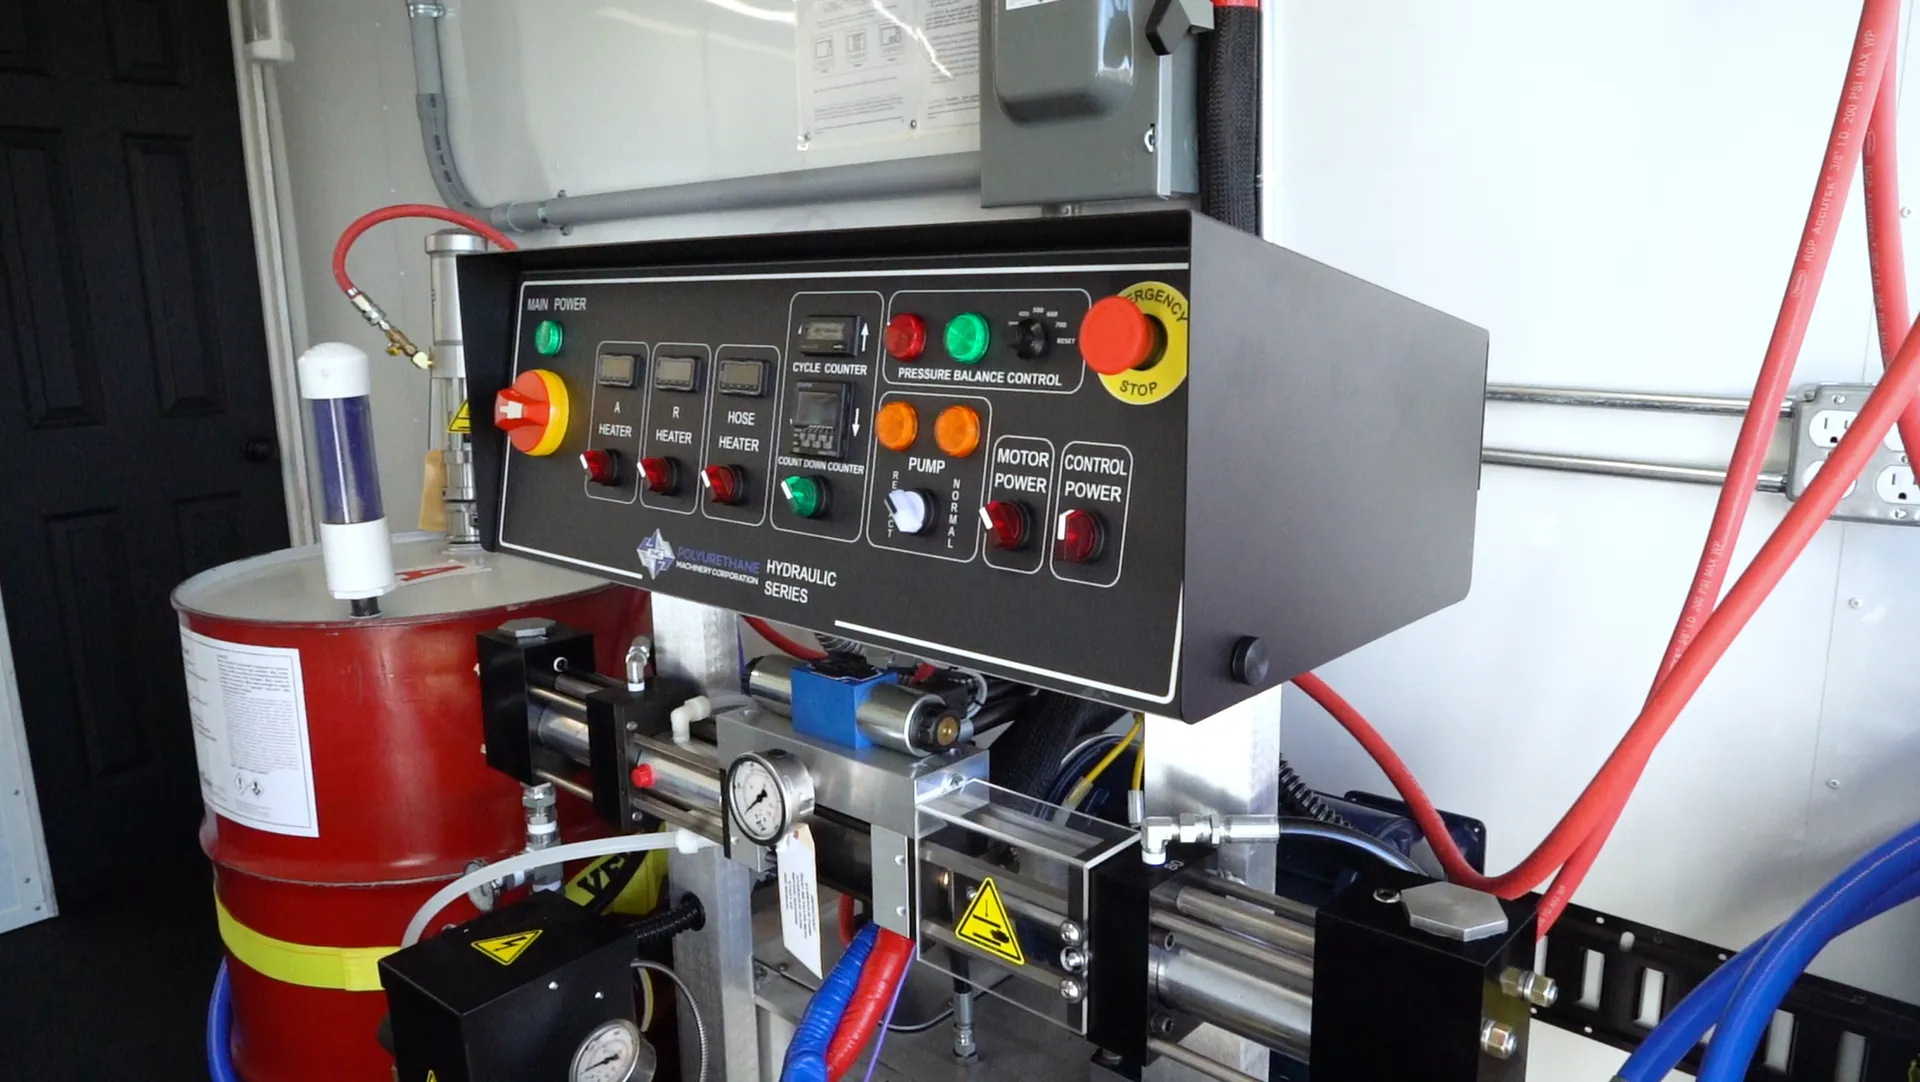
ArmorThane sets you up to do this work, and you own the business. We make the chemistry, build the rigs, train you hands-on and answer the phone when a job gets difficult. You pay no franchise fee and no royalties. It has been that way since 1989.
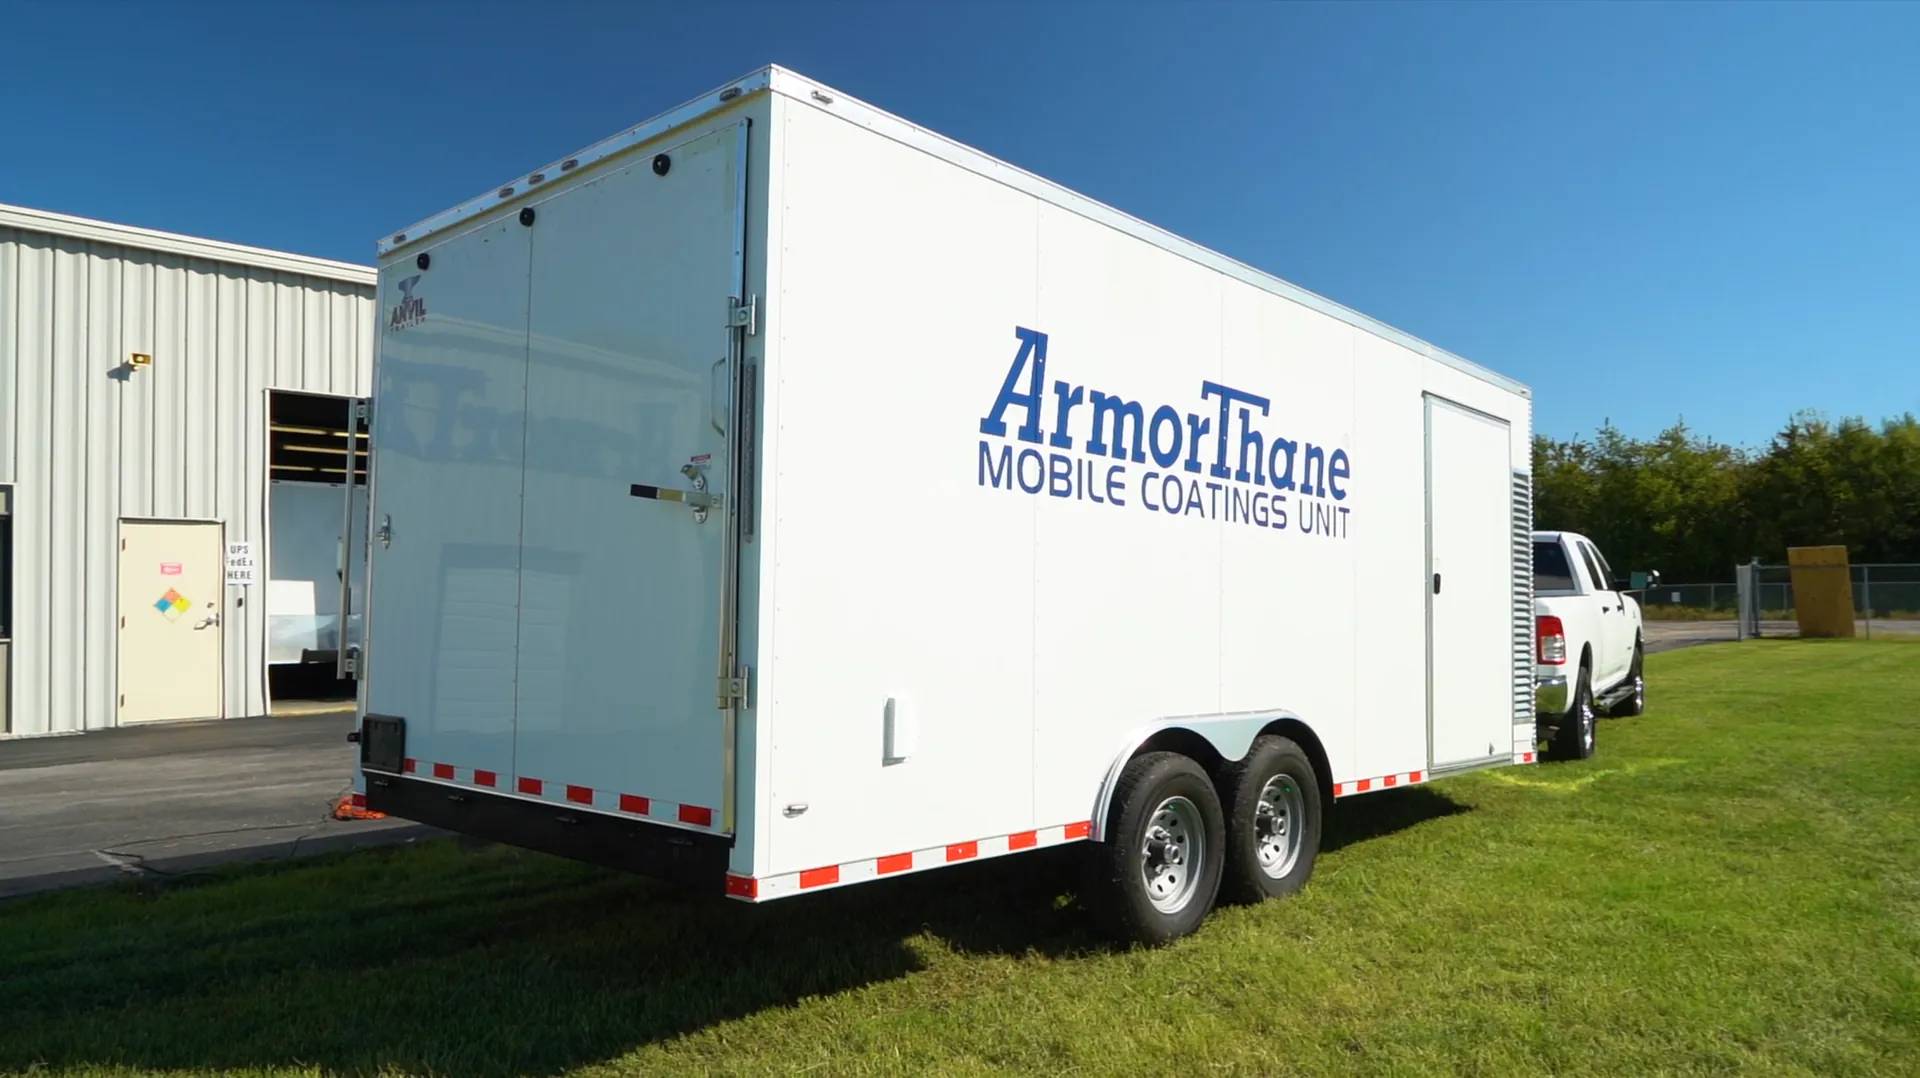
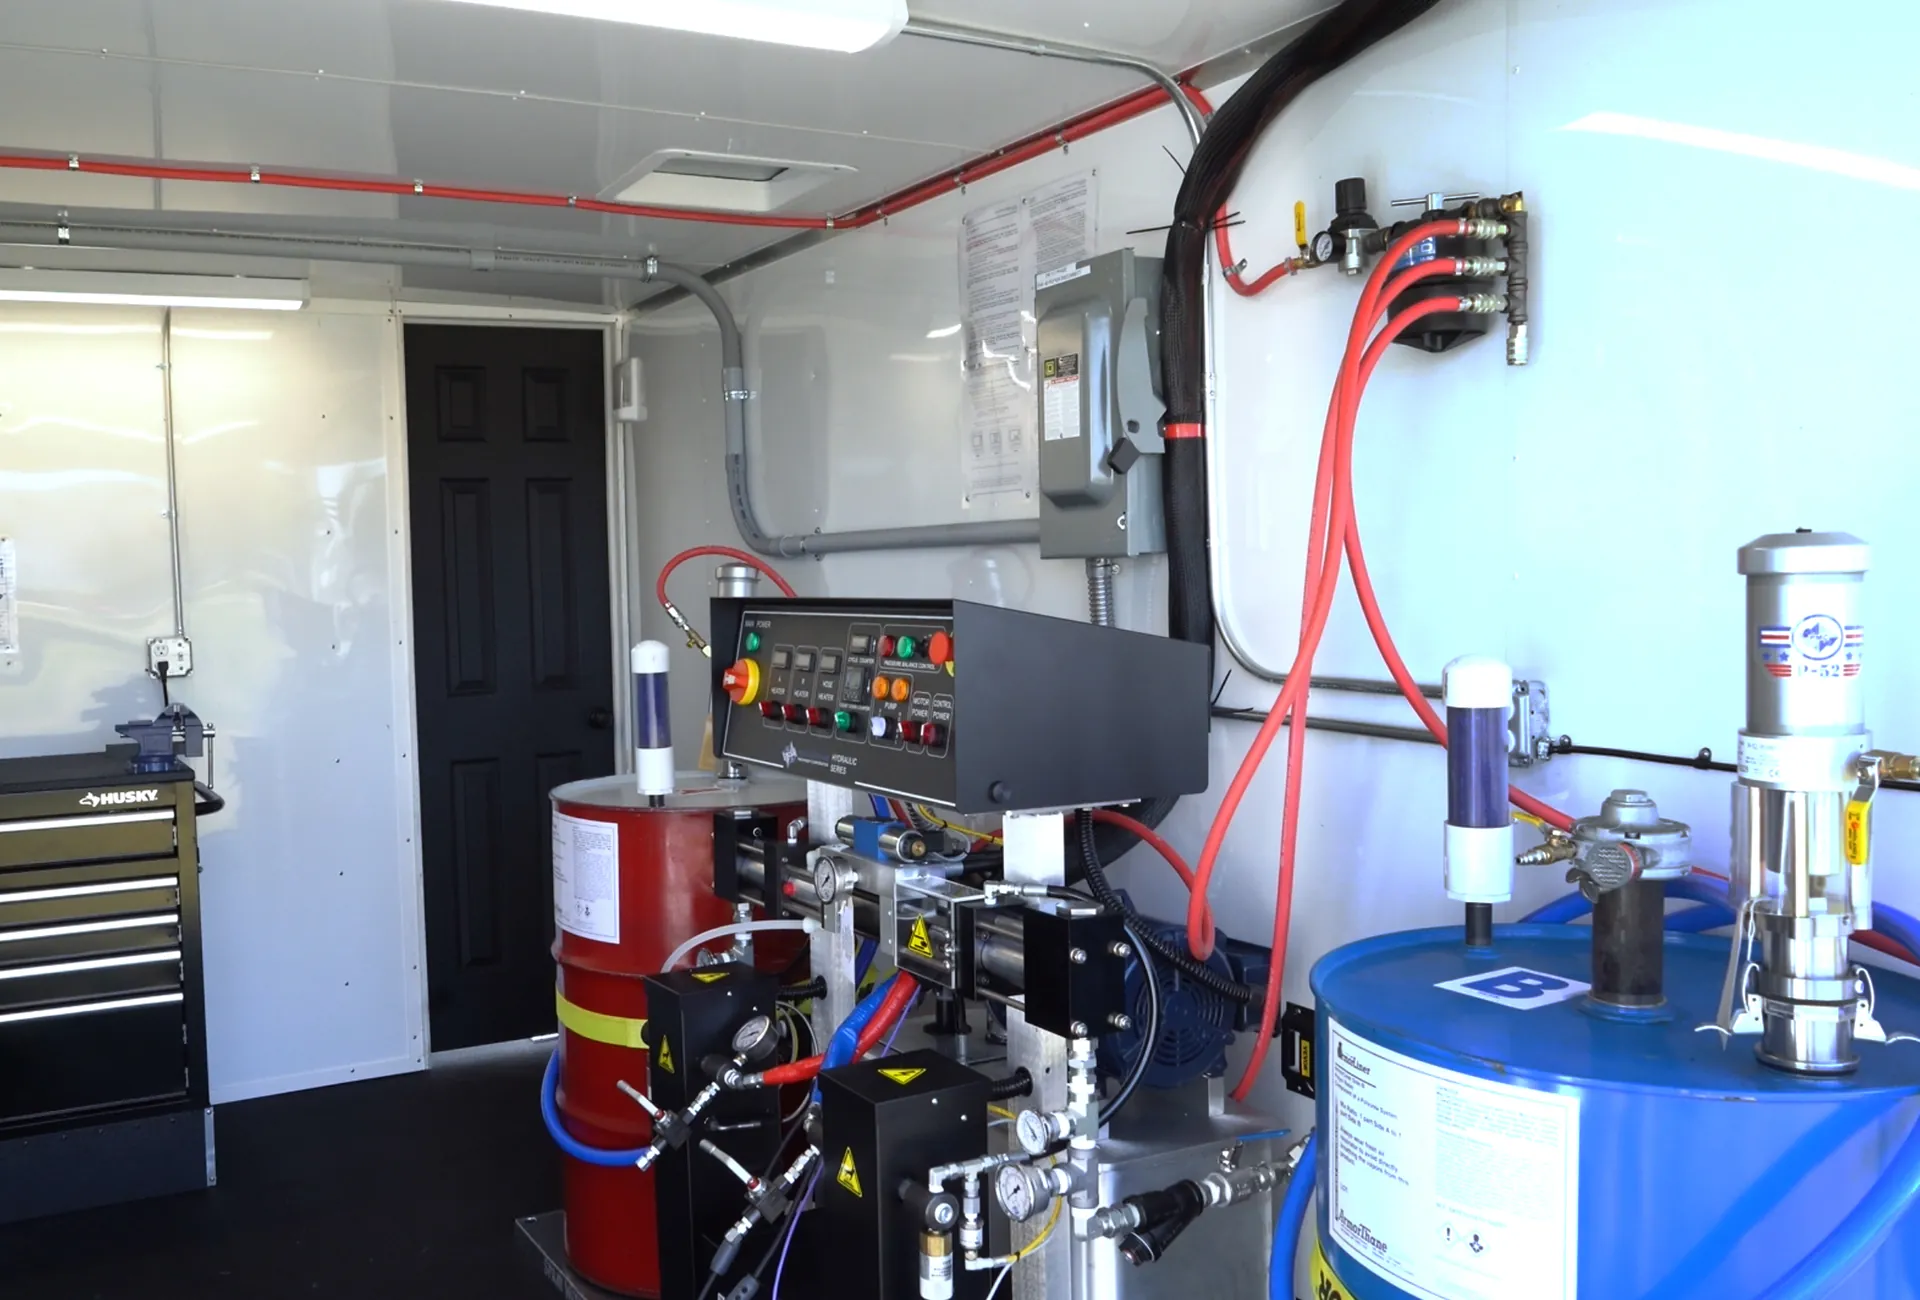
- $0
- franchise fees or royalties
- 35+
- years in business
- 50+
- countries with applicators
- 24/7
- technical support
Nearly every RV roof leak has the same address: a seam, an edge, or a hole somebody cut on purpose. Vents, skylights, the antenna, the front and rear caps, the termination bar that runs down both sides. The membrane between them is rarely the problem. So "RV roof sealant" is really a question about joints, and the right product depends on two things: what your roof is made of and which joint you're sealing.
This guide sorts that out with the manufacturers' own data sheets instead of star ratings. It covers which sealant goes where, how many tubes you actually need, how long each product needs before rain or a coating, and what it means when a bead fails. A full disclosure first: ArmorThane doesn't make RV lap sealant or seam tape. We make sprayed polyurea roof systems, which we'll get to at the end. The products named below are here because of what their spec sheets say, and nobody paid for a mention.
- 1Quick answer: which sealant goes where
- 2The five things people call "RV roof sealant"
- 3RV roof sealant selector (tool)
- 4Compatibility chart by roof membrane
- 5Where every bead goes on the roof
- 6How much sealant you need (calculator)
- 7How to apply lap sealant, step by step
- 8Cure times and weather windows (planner)
- 9How long it lasts and what warranties say
- 10Why sealant fails (diagnostic chart)
- 11What resealing costs in 2026
- 12When sealant stops being the answer
- 13RV roof sealant FAQ
Which RV roof sealant should you use?
Use a self-leveling lap sealant that your membrane maker approves on flat edges, screw heads and vent flanges. Switch to a non-sag sealant on vertical faces, caps and tall flanges. Put a UV-stable seam tape over long seams and tears, bed new fixtures on butyl tape, and never put silicone on an EPDM, TPO or PVC roof.
| You're sealing | Product type | Examples (check your membrane) |
|---|---|---|
| Termination bar, side-molding top edge, screw heads | Self-leveling lap sealant | Dicor 501LS, Alpha/Lippert 1021, TREMPRO |
| Vent, skylight, antenna or cap flange on the flat roof | Self-leveling lap sealant | Dicor 501LS, Alpha 1021 |
| Front/rear cap seam, tall flanges, anything sloped | Non-sag or semi-self-leveling | Dicor 551LS, Sikaflex-715 |
| Long seam, split, tear or puncture | UV-stable seam tape | EternaBond RoofSeal (AlumiBond on metal) |
| Under a fixture you're installing | Butyl putty tape, then lap sealant over the flange | 1/8" x 1" butyl roll |
| Chalking, cracking or leaking in many places | You're past sealant | Recoat or replace (see section 12) |
The five things people call "RV roof sealant"
Search for RV roof sealant and you'll get two very different kinds of product mixed together: caulk-type sealants for joints, and liquid "rubber" coatings for the whole roof that happen to have "sealant" in the name. They don't do the same job. Here's the lineup.
1. Self-leveling lap sealant
The workhorse. It comes out of a standard caulk gun, then slumps and flows into a smooth, feathered bead that buries screw heads and laps the edge of a flange onto the membrane. Dicor's 501LS is the one most factory roofs leave with; Alpha/Lippert 1021 and Tremco's TREMPRO are the other common choices. Self-leveling is made for flat work. Liquid Rubber labels its version for "horizontal surfaces only," and Tremco says TREMPRO holds up to a 6% slope. Past that, it runs.
2. Non-sag lap sealant
Same family, thicker body. It stays where you tool it, which is what you want on the vertical face of a front cap, a ladder bracket, or a vent with a tall flange. Dicor's own installation guide points to its 551LS "for use on accessories with taller flanges." Sikaflex-715 sits in between: Sika calls it semi-self-leveling, and it's built on a silane-terminated polymer rather than the solvent-based formulas most lap sealants use.
3. Butyl putty tape
Butyl is bedding, not a top seal. It goes under a fixture flange before the screws go in, where it stays soft and squeezes into the gaps. Dicor's DiFlex II TPO instructions are explicit that only butyl tape should be used under fixtures on that membrane. Exposed butyl in the sun doesn't last, so it always gets covered with lap sealant on top.
4. UV-stable seam tape
EternaBond RoofSeal is the product most owners mean here. It's a 35-mil tape with a pressure-sensitive "MicroSealant" adhesive, 700% elongation on H.B. Fuller's data sheet and a service range of -40°F to 212°F. Tape is the right answer for long straight seams, splits and punctures, because it bridges the joint with a consistent film instead of relying on a bead you tooled by hand. RoofSeal isn't paintable; EternaBond's fabric-backed WebSeal is the version made to take paint.
5. Liquid "rubber" coatings sold as sealant
Liquid Rubber, BEEST, RV Roof Magic and Tough Tech all sell roll-on coatings under "RV roof sealant" names. They coat the whole field of the roof. That's useful when the membrane is chalking or crazing, but it isn't a substitute for a proper bead at a vent flange. The honest way to compare them is film thickness, which almost none of them print. You can work it out from the coverage rate on the label:
| Product (published coverage) | Wet mils at that rate | Notes |
|---|---|---|
| Dicor fiberglass coating, ~350 sq ft/gal | 4.6 per coat | Thin maintenance coat |
| Dicor rubber roof coating, 125 sq ft/gal per coat | 12.8 per coat (≈25.7 for two) | Minimum two coats |
| BEEST, 50 sq ft/gal (2 coats) | 32 total wet | Water-based; dry film is lower, solids not published |
| RV Roof Magic, 50 sq ft/gal | 32 wet | Chemistry not disclosed |
| Tough Tech, 50 sq ft/gal | 32 wet | Maker claims 30 mils final |
| ArmorThane sprayed RV roof spec | 120 dry (100% solids) | Plural-component spray, professional install |
If you're not sure which membrane you have, the RV roof repair guide walks through identifying EPDM, TPO, fiberglass and aluminum roofs by look and feel.
RV roof sealant selector
Tell it what the roof is, what joint you're sealing and what's there now. It filters a dozen products by their published compatibility, temperature window and paintability, then flags anything that will cause trouble later.
Match the product to your roof and the joint
Based on manufacturer data sheets and installation guides. Always confirm with your membrane maker.
Flat, horizontal work: the bead should flow flat and bury every screw head.
Dicor 501LS Self-Leveling Lap Sealant
- Skins in 5 min
- Waterproof in 4 hr
- 80% cure 48 hr, full 30 days
- Best around 50–70°F (retailer guidance); warm tubes to room temperature in cold weather
- Seal 2 weeks before coating
Alpha / Lippert 1021 Self-Leveling
- Skins in 1–2 hr
- Cures in 48 hr
- 293 g/L VOC, low-VOC formula
- Apply 5–120°F
- Paintable once cured
- Confirm with the maker: the data sheet doesn't name TPO specifically.
Tremco TREMPRO RV Roof Sealant
- 100% solids, self-leveling
- Holds up to a 6% slope
- Skin 45–60 min at 75°F
- Temperature range not on the product page
- Paintable once a skin forms
- Confirm with the maker: the data sheet doesn't name TPO specifically.
Liquid Rubber RV Lap Sealant
- Moisture-curing
- 25 ft per 10 oz at 1/4"
- Horizontal surfaces only
- Temperature range not published
- Coat over after 24 hr
Filtered out for your roof or conditions:
- Sikaflex-715: TPO isn't listed on the data sheet.
- Membrane-safe cleaner only. On EPDM, Dicor says no petroleum solvents, harsh abrasives, citrus cleaners or acetone.
- Clean until a white rag stays white, then let it dry completely.
- 1/4 to 3/8-inch bead, lapped onto both the membrane and the flange, covering every screw head.
- Next: work out how many tubes you need.
RV roof sealant compatibility chart
This is the table nobody else prints, because it means reading the fine print on a dozen PDFs. "Yes" means the maker names that substrate. "No" means the maker says not to. A dash means the substrate isn't listed, which is not the same as approved.
| Product | Type | EPDM | TPO | PVC | Fiberglass | Aluminum / metal | Paintable | Apply temp |
|---|---|---|---|---|---|---|---|---|
| Dicor 501LS | Self-leveling | Yes | Yes | Yes | Adheres | Adheres | After cure (coat 2 wk later) | Best 50–70°F* |
| Dicor 551LS | Non-sag | Yes | Yes | Yes | – | – | After cure | Best 50–70°F* |
| Alpha / Lippert 1021 | Self-leveling | Yes | Confirm | – | Yes | Yes | Once cured | 5–120°F |
| Sikaflex-715 | Semi self-leveling | Yes | – | – | Plastics listed | Yes | No | 41–104°F |
| Geocel Pro Flex RV | Gun grade | No | – | – | Yes | Yes | After 24 hr | 0°F+ (surface ≤140°F) |
| Geocel Advanced RV EPDM | Gun / trowel | White only | Primed only | Primed only | – | Yes | – | Not published |
| Tremco TREMPRO | Self-leveling | Check TDS | Check TDS | – | Composite | Steel | After skin | Not published |
| Liquid Rubber RV Lap Sealant | Self-leveling | Yes | Yes | – | – | – | After 24 hr | Not published |
| EternaBond RoofSeal | Seam tape | Yes | Yes | – | Yes | Yes (AlumiBond) | No (WebSeal is) | 40–150°F |
| Butyl putty tape | Bedding only | Under flanges | Under flanges | Under flanges | Under flanges | Under flanges | n/a (covered) | – |
| RTV silicone | Gun grade | No | No | No | Case by case | Common | Rarely | – |
EPDM rubber roofs
EPDM has the widest menu: Dicor 501LS and 551LS, Alpha 1021, Sikaflex-715, Liquid Rubber's lap sealant and EternaBond all list it. Two traps. Geocel's Pro Flex RV, a popular fiberglass sealant, says outright "do not use on EPDM." And Geocel's Advanced RV EPDM product is rated for white EPDM but not black. Cleaning matters as much as the product, because Dicor warns against petroleum-solvent, abrasive, citrus and acetone cleaners on EPDM.
TPO and PVC roofs
Dicor is the cleanest answer here, since it states its 501 and 551 sealants are compatible with EPDM, TPO and PVC membranes. Alpha's 1021 data sheet says "rubber, metal, and fiberglass roofs" without naming TPO, so if you have a factory Alpha Systems TPO roof, ask Lippert before assuming. Geocel's Advanced product needs a primer on TPO and PVC.
Fiberglass roofs
Fiberglass opens the door to gun-grade polymer sealants such as Geocel Pro Flex RV (430% elongation, tack-free in about 3 hours, paintable after 24) and Sikaflex-715. Self-leveling lap sealants still work on flat flanges. What changes is the edge: fiberglass roofs often meet an aluminum rail, and that joint moves more than most (see the next section).
Aluminum and metal roofs
Metal is the one place silicone is common practice, and it's where EternaBond's AlumiBond line belongs. The bigger issue on older aluminum roofs is the seams themselves. After a few decades of expansion cycles, fasteners loosen and the laps work open, which is why taped seams hold up better than beads here.
Where every bead goes on an RV roof
On a typical 30-foot trailer there are roughly a dozen places that depend on sealant, and they aren't equal. The front cap takes wind and road spray. The termination bars run the full length on both sides. Every fixture is a hole with a flange on it. Here's the layout, numbered in the order most inspections should go.
- Front cap seam. Non-sag sealant on the vertical lip; tape the horizontal lap. Highest-stress joint on the rig.
- Termination bars and side-molding top edge (both sides, full length). Self-leveling bead over the bar and every screw.
- Roof vents and fans. Self-leveling around the flange, covering each screw head.
- A/C unit. Sealed by its gasket, not sealant. Check the bolts are snug; don't caulk the gasket.
- Skylights. Self-leveling at the flange; non-sag if the flange stands tall.
- Plumbing and fridge vent caps. Small flanges, easy to miss, common leak source.
- Antenna, satellite or solar mounts. Seal the base plate and every fastener.
- Ladder and bracket feet. Non-sag if they sit on the curved edge or side wall.
- Rear cap seam. Same treatment as the front cap.
- Loose screw heads anywhere. Reseat or replace the screw first, then dab it.
Why edges and caps fail first
It's mostly heat and movement. The U.S. Department of Energy notes that a conventional roof can reach 150°F or more on a sunny afternoon, and an RV roof cools off fast after dark. Different materials move different amounts through that swing. Using published expansion coefficients, a 30-foot aluminum rail changes length by about 0.46 inch over a 100°F swing, while 30 feet of wood decking moves about 0.06 inch. That's not all concentrated at one joint, since rails are screwed down at intervals. But the sealant at the edge and the cap seams is the thing absorbing the difference, every day, for years. Stiff, aged sealant cracks. That's also why products with high elongation, and tape, hold up better on those runs.
Hot climates speed all of it up. Owners in Arizona and Texas usually find they're resealing at the short end of every interval quoted here, which is part of why seamless roofs sell so well there (our Phoenix RV roof replacement page shows what one looks like).
How much RV roof sealant do you need?
Tube counts on forums swing from "two" to "a dozen" for the same trailer, and the reason is bead size. The volume in a bead goes up with the square of its width, so a 1/2-inch bead uses four times the sealant of a 1/4-inch bead. Dicor's installation guide calls for a 1/4 to 3/8-inch bead on its 501LS, so that's the range the calculator defaults to.
Tubes, tape rolls and what resealing costs over time
Measure the roof box itself, not the brochure length. A travel trailer's advertised length includes the tongue.
Edges: 76 ft (2 x 30.0 + 2 x 8.0). Fixtures: 32 ft. Sealant for one full reseal: about $44. Over 10 years at a reseal every ~3 years, that's about 3 reseals: roughly $132 in sealant if you do it yourself, or $3,000–$7,500 if a shop does full reseals ($1,000–$2,500 each, 2026 estimate).
Tired of the cycle? A seamless roof has no laps to reseal: compare sprayed roofs or find an applicator. Shops: see the per-roof economics.
| Bead | Cu in per foot | 10.0 oz | 10.1 oz | 10.3 oz | 11.0 oz |
|---|---|---|---|---|---|
| 1/4" round | 0.589 | 30.6 ft | 30.9 ft | 31.6 ft | 33.7 ft |
| 5/16" round | 0.920 | 19.6 ft | 19.8 ft | 20.2 ft | 21.6 ft |
| 3/8" round | 1.325 | 13.6 ft | 13.8 ft | 14.0 ft | 15.0 ft |
| 1/2" round | 2.356 | 7.7 ft | 7.7 ft | 7.9 ft | 8.4 ft |
How to apply RV roof sealant, step by step
Most early failures aren't product failures. They're adhesion failures: a fresh bead laid over chalk, dirt, old silicone or a damp surface. The sequence below follows the manufacturers' prep instructions. Pick a dry morning and give yourself a full day of dry weather after.
Get the loose stuff off
Cut away old sealant that's cracked, lifting or grimy with a plastic scraper; metal blades slice membranes. EternaBond calls removing "the cracked, loosened, and grimy material" best practice before taping. Sound, well-bonded sealant can stay and be cleaned. To lift old tape, EternaBond suggests warming it with a heat gun or hair dryer and peeling it back with a plastic putty knife.
Clean with a membrane-safe cleaner
On EPDM, Dicor warns against cleaners with petroleum solvents, harsh abrasives or citrus, and says not to use acetone. Use the membrane maker's cleaner or a mild one they approve, then wipe the joint with a clean white rag until the rag stays white. Chalky oxidation is the most common reason a new bead lets go within a year.
Let it dry completely
Dicor's instruction is simply "allow surface to dry before applying sealant." Water trapped under a bead is a failure waiting for the first freeze.
Lay the bead
Cut the nozzle for a 1/4 to 3/8-inch bead. Run it so it laps onto the membrane and the flange (or bar) at the same time, and bury every screw head. On flat work, let self-leveling sealant do its thing and don't over-tool it. On vertical faces, switch to non-sag and tool it smooth.
Tape the seams
For a seam or tear, clean and dry the area, center the tape over the joint and press it down hard with a seam roller or firm hand pressure. That's what activates the adhesive. Below 40°F, EternaBond calls for its EternaPrime primer. Seal the tape ends or any screw heads through it with lap sealant.
Protect it while it cures
Keep rain off for at least the maker's waterproof time (Dicor: 4 hours) and don't coat over it until the cure period is up (Dicor: 2 weeks). The planner below does the timeline for each product.
Can you put new sealant over old?
Over old lap sealant that's still sound and bonded, yes: clean it well and lap the new bead past the old one onto clean membrane. If the brands differ, test a small area first. Over cracked or lifting sealant, no. Over silicone, never. And over tape, only a lap sealant the tape maker approves, at the ends and fasteners.
How long does RV roof sealant take to cure?
"Dry" means four different things on a data sheet: skinned over, rain-ready, mostly cured, fully cured. Only Dicor publishes all four. Pick your product and conditions, and the planner lays out the timeline, including the one that trips people up most: how long to wait before a roof coating goes over the sealant.
Can you seal today, and when is it safe to coat?
Timelines use each maker's published figures. Where a figure isn't published, the planner says so and uses a conservative buffer.
- Start: Today 9:00 AM
- Skinned / tack-free: Today 9:05 AM (5 min)
- Rain-ready: Today 1:00 PM (4 hr)
- 80% cured: Day 3 9:00 AM
- Full cure: Day 31 9:00 AM (30 days)
- Earliest coat or paint over it: Day 15 9:00 AM (14 days)
| Product | Apply at | Skin / tack-free | Rain-ready | Full cure | Coat or paint over |
|---|---|---|---|---|---|
| Dicor 501LS / 551LS | Warm tubes in cold weather; best 50–70°F* | 5 min | 4 hr | 80% at 48 hr; 100% at 30 days | Seal 2 weeks before coating |
| Alpha / Lippert 1021 | 5–120°F | 1–2 hr | Not published | 48 hr | Once cured |
| Sikaflex-715 | 41–104°F | ≈30 min (73°F, 50% RH) | Not published | Slower when cold | Not suitable for overpainting |
| Geocel Pro Flex RV | Warm below 0°F; surface ≤140°F | 3 hr | Not published | 6 days | After 24 hr (3 days for inflexible paint) |
| Geocel Advanced RV EPDM | Not published | 100 min | Not published | 1 day | Not published |
| Liquid Rubber RV Lap Sealant | Not published | Not published | Not published | Not published | After 24 hr |
| EternaBond RoofSeal | 40–150°F (EternaPrime below 40°F) | Bonds on rolling | Immediately | n/a | Not paintable |
| ArmorFlex UV (sprayed polyurea, for contrast) | Professional spray | Gel 12–14 sec; tack-free ≈1 hr | Same day | Per TDS | No topcoat needed (aliphatic) |
Heat is the other half. Several products have a ceiling: Pro Flex RV shouldn't go onto a surface above 140°F, and Sikaflex-715 tops out at 104°F air temperature. A dark roof in July sun blows past both by early afternoon. Seal in the morning. If you want the science on why dew point matters for anything you put on a roof, our piece on how weather affects coating application covers it.
How long does RV roof sealant last, and how often should you check it?
There's no honest single number, and the published ones disagree. Here's what's actually on the record:
| Source | What they say | What it is |
|---|---|---|
| Keystone RV | Inspect the roof at least every three months | RV maker's owner guide |
| Camping World | Many owners reseal problem areas every 2–4 years, sooner in hot, sunny climates | Retailer guide |
| ArmorThane RV roof repair guide | A properly prepped bead can go three to five years; assume the short end in desert sun | Our estimate |
| United RV Parts | Lap sealant 5–10 years | Retailer FAQ (the outlier) |
| EternaBond | Can last 20+ years if installed properly | Manufacturer claim for its tape |
Our advice is to inspect four times a year and reseal on condition, not on a calendar. Look for hairline cracks across the bead, edges pulling away from the membrane, shrinkage that's exposing screw heads, and chalky residue on the bead surface. Any one of those means that joint is due.
What your warranties say about sealant
This part surprises people. RV manufacturers treat sealant as owner maintenance, full stop. Forest River's towable limited warranty runs one year and excludes "maintaining or resealing exterior seals" and "caulking and re-caulking." It also excludes water damage from "failure to properly maintain exterior seals." Keep a dated photo log of your inspections; it's the only proof you'll have.
The membrane warranty doesn't help with sealant either. Dicor's EPDM warranty covers the sheeting for 12 years (parts and labor for 5, prorated material only after that) and specifically doesn't cover "the original installation or the (glue, lap Sealant, Butyl tape)." So both warranties point the same direction: every seam is your job.
Why did my RV roof sealant fail?
A failed bead tells you what went wrong if you know how to read it. Filter by what you're seeing.
| What you see | Most likely cause | Fix |
|---|---|---|
| Cracks or crazing across the bead; bead feels hard | UV aging. End of normal life | Remove loose material, clean, reseal. Shorten the interval in hot climates. |
| Bead intact but peeled away along one edge | Adhesion loss: oxidation chalk, dirt, moisture or release agent under it | Remove the bead, clean until a white rag stays white, dry fully, reseal. |
| New sealant or tape won't stick at all, peels off in sheets | Silicone contamination | Remove all silicone mechanically. On EPDM or TPO this can mean patching the membrane. |
| Bubbles or ripples in a fresh self-leveling bead | Solvent release during cure | Dicor notes its petroleum distillates "can cause bubbling and rippling during the curing process." Usually cosmetic; avoid heavy globs. |
| Sealant ran down a flange, cap or slope | Self-leveling product used on a slope or vertical face | Redo with non-sag (Dicor 551LS) or a semi-self-leveling product. |
| Coating over the sealant wrinkled, stayed tacky or blistered | Coated before the sealant cured | Remove the failed coating at the joint. Wait the maker's period: Dicor 2 weeks, Liquid Rubber 24 hours. |
| Membrane soft, swollen or sticky near a repair | Wrong cleaner or solvent on EPDM | Stop. Call the membrane maker before doing anything else, and don't coat over it. |
| Bead split right over a screw head | Fastener backed out or moved | Reseat or replace the screw, then seal. |
| Cap-seam sealant cracks again every season | Differential movement between rail and deck | Use a high-elongation product or tape plus sealant. The permanent fix is removing the seam. |
| Sealant looks fine but the ceiling still stains | The leak is somewhere else; water travels | Trace the entry point with the RV roof repair guide. |
| Roof deck soft or spongy near a fixture | Rot. Sealant can't fix it | Deck repair or replacement. Have an RV roof applicator inspect it. |
What does RV roof sealant cost?
Sealant itself is cheap. The labor, and what happens if you skip it, isn't. Retail prices below are a snapshot from the week this page was updated; they move around.
| Item | Retail price (Sept. 2026) | Where |
|---|---|---|
| Dicor 501LS self-leveling, 10.3 oz | $10.50 | United RV Parts |
| Dicor 551LS non-sag, 10.3 oz | $10.50 | United RV Parts |
| Alpha / Lippert 1021, 10.3 oz | $12.99–$14.95 | United RV Parts / Lippert |
| LaSalle Bristol self-leveling | $7.99 | United RV Parts |
| Sikaflex-715, 10.1 oz | $13.98 | RV Upgrades |
| Liquid Rubber RV Lap Sealant, 10 oz | $19.95 | Liquid Rubber |
| Butyl tape, 1/8" x 1" x 30 ft | $10.99–$15.95 | United RV Parts / RecPro |
| RV rubber roof coating, 1 gal | $54.95–$197 | RecPro to Tough Tech |
| Job | Typical 2026 cost |
|---|---|
| DIY sealant refresh (materials) | $75–$200 |
| Professional spot reseal | $300–$800 |
| Full professional reseal | $1,000–$2,500 |
| Acrylic or liquid-rubber recoat | $500–$3,000 |
| Deck or rot repair | $1,500–$6,000 |
| Full membrane replacement | $4,000–$15,000+ |
| Sprayed polyurea roof, 30-ft RV | $3,500–$7,000 |
Look at the deck-repair line. Letting one split cap seam go for a season can cost more than a decade of resealing it on time. Checking the roof four times a year and resealing on condition is the cheapest insurance an RV owner can buy.
When sealant stops being the answer
Every product on this page is a way to keep a seamed roof sealed. None of them change the fact that a factory RV roof is a membrane with laps, termination bars and a dozen holes in it, each one waiting on its next bead. At some point the smarter move is to get rid of the seams.
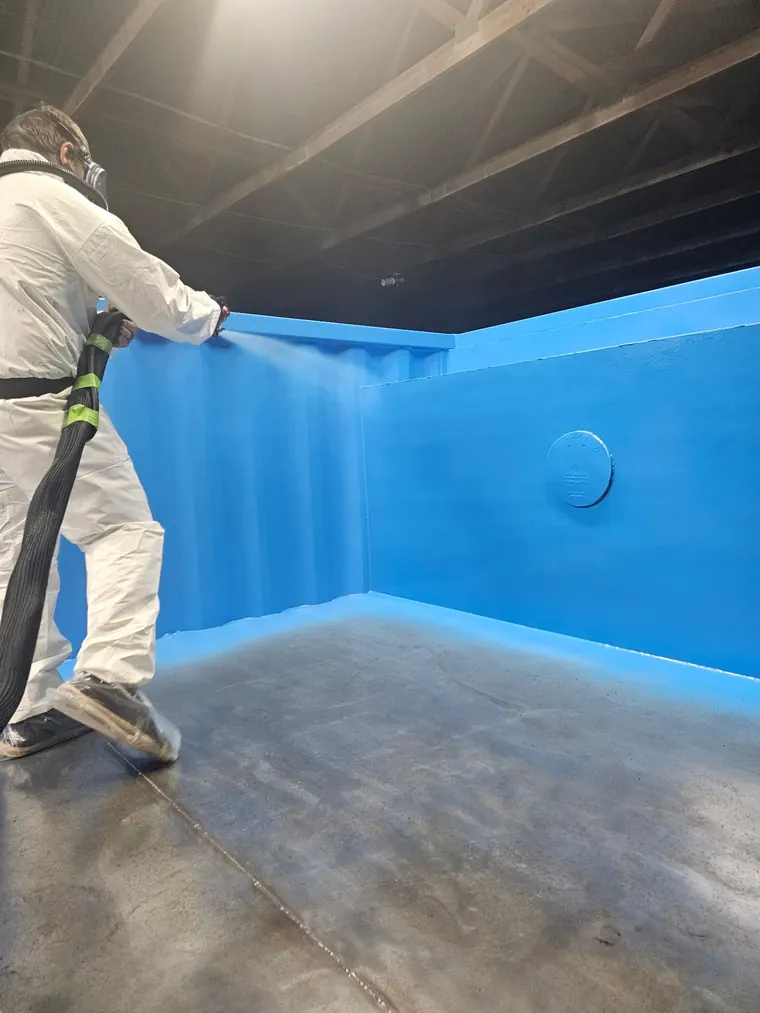
That's what a sprayed polyurea roof does. The membrane is applied as a liquid through heated, plural-component equipment, bonds across the deck, up the edges and around every fixture, and cures into one continuous skin. There is no lap to reseal and no termination-bar bead to dry out.
Tensile strength
ArmorFlex UV, published ASTM D412 value. 730% elongation on the same test.
Our RV roof spec
Most parts-counter roof coatings go on at 30–40 mils. We spec 120.
To tack-free
Gel in 12–14 seconds. Most roofs are sprayed in a day or two.
The honest trade-offs
- It isn't DIY. The material is sprayed hot through high-pressure proportioning equipment by a trained applicator.
- It costs more up front. Our 2026 estimate for a 30-foot RV is $3,500–$7,000, against $75–$200 for a DIY reseal.
- Payback is slow. Against a disciplined schedule of annual sealant work and recoats, a sprayed roof takes something like a decade to pay for itself. If you're selling the rig in two years, don't do it.
- Warranties come from the applicator. Terms vary by installer and system thickness, so get them in writing.
ArmorFlex UV is aliphatic, so it holds its color in the sun without a topcoat. Our UV-resistant coatings explainer covers why aromatic products chalk and aliphatic ones don't. For the full system and cost comparison, see RV roof coatings and the ArmorFlex UV product page.
Already doing reseals? Sell the roof instead.
Reseal calls are how a lot of RV roof businesses get started. Adding a sprayed roof system turns a $300 visit into a full roof job, with no franchise fee and no royalties. We supply the equipment, material and training.
RV roof sealant FAQ
What is the best sealant for an RV roof?
The one your membrane maker approves for the joint you're sealing. Use self-leveling lap sealant on flat edges, screw heads and fixture flanges, a non-sag lap sealant on vertical faces and tall flanges, and a UV-stable tape such as EternaBond RoofSeal on seams and tears. Dicor states its 501 and 551 lap sealants "are compatible with EPDM, TPO, and PVC membranes." Keep silicone off rubber roofs.
Can I use silicone on my RV roof?
Not on EPDM, TPO or PVC. Dicor's instruction is blunt: "Do not use silicone – it will not adhere to the EPDM rubber," and EternaBond lists its tape as not compatible with silicone sealants. Once silicone is on a membrane it has to come off mechanically before anything else will bond. Aluminum roofs are the usual exception.
How many tubes of lap sealant do I need?
A 10.3 oz tube lays roughly 30 feet of 1/4-inch bead (Lippert says "¼\" bead covers approx. 30'", and Alpha's data sheet gives 380 lineal feet per gallon). Go to a 3/8-inch bead and you get about 14 feet per tube. A 30 x 8 ft roof has 76 feet of edge alone, so most owners need 4 to 5 tubes at 1/4 inch once vents and caps are added. Use the estimator on this page for your exact roof.
How long does RV roof sealant take to dry?
Dicor lap sealant skins over in about 5 minutes, is waterproof in 4 hours, reaches 80% cure at 48 hours and full cure at 30 days (figures stated for 50–70°F). Alpha 1021 skins in 1–2 hours and cures in 48 hours; Sikaflex-715 skins in about 30 minutes. Cold weather slows all of them.
How often should I inspect and reseal my RV roof?
Keystone RV tells owners to inspect the roof at least every three months. Reseal when a bead is cracked, shrunken, pulling away or chalky, not on a fixed calendar. In hot, sunny climates that tends to come around every 2 to 4 years.
Can you put new lap sealant over old lap sealant?
Only over old sealant that is still sound, clean and fully bonded. Anything cracked, loose or grimy comes off first; EternaBond calls removing that material best practice. Never lay anything over silicone.
Will EternaBond stick to Dicor lap sealant?
EternaBond recommends removing old sealant before taping, because the tape needs a clean, dry, flat surface you can roll with pressure. Cut back failed Dicor, clean the area, apply the tape, then seal only the tape ends or screw heads with lap sealant where needed.
Is EternaBond better than lap sealant?
They do different jobs. EternaBond RoofSeal is a 35-mil tape with 700% elongation and a published service range of -40°F to 212°F, which makes it the better choice for long seams and tears. Lap sealant is still the right product around screw heads and fixture flanges.
What's the difference between self-leveling and non-sag lap sealant?
Self-leveling sealant flows flat to bury fasteners on horizontal surfaces; Liquid Rubber labels its version for "horizontal surfaces only" and Tremco says TREMPRO holds up to a 6% slope. Non-sag stays where you put it on vertical faces, sloped caps and taller flanges.
Can I paint or coat over RV lap sealant?
Let it cure first. Dicor says to do your sealant work 2 weeks before coating the roof, while Liquid Rubber allows 24 hours for its own lap sealant. Sikaflex-715 is not suitable for overpainting, and EternaBond RoofSeal isn't paintable (their WebSeal tape is).
What temperature can you apply RV roof sealant in?
It depends on the product: Alpha 1021 lists 5–120°F, Sikaflex-715 lists 41–104°F and EternaBond lists 40–150°F with EternaPrime below 40°F. For Dicor, warm the tubes to room temperature in cold weather. On hot days seal early, because a dark roof can pass 150°F in afternoon sun.
What should I clean an RV rubber roof with before sealing?
A cleaner your membrane maker approves. Dicor warns against cleaners with petroleum solvents, harsh abrasives or citrus, and says not to use acetone. Clean until a white rag comes back white, then let the surface dry completely before any sealant goes down.
How much does it cost to reseal an RV roof?
Doing it yourself usually costs $75–$200 in materials, with lap sealant running about $8–$26 a tube at September 2026 retail prices. ArmorThane's 2026 estimate for a full professional reseal is $1,000–$2,500 depending on the rig and how much old sealant has to come off.
Does RV roof sealant fix a leak permanently?
No. Sealant is maintenance. Forest River's towable warranty, for example, lists maintaining and resealing exterior seals as the owner's job and excludes leak damage caused by unmaintained seals. The only way off the reseal cycle is to remove the seams, which is what a seamless sprayed membrane does.
Written from manufacturer data sheets, code text and 35+ years of spraying and supporting applicators. Last updated September 26, 2026.
Sources
Every product figure on this page comes from the manufacturer's own data sheet, installation guide or FAQ. Retail prices were checked the week of September 26, 2026.
- Dicor Products, Self-Leveling Lap Sealants: dicorproducts.com/product/self-leveling-lap-sealants/
- Dicor Products, FAQ: dicorproducts.com/faq/
- Dicor Products, EPDM membrane warranty FAQ: dicorproducts.com/faq-2/
- Dicor Products, EPDM Rubber Roofing care: dicorproducts.com/product/dicor-epdm-rubber-roofing-2/
- Dicor DiFlex II retro-fit installation guide (PDF): dicorproducts.com/wp-content/uploads/2020/08/diflex_RETROFIT_install-g
- Alpha Systems 1021 technical data sheet (PDF): alphallc.us/wp-content/uploads/1021-High-Solids-Self-Leveling-Sealant-
- Lippert 1021 Low-VOC Self-Leveling Lap Sealant: lippert.com/1021-low-voc-self-leveling-lap-sealant-white-103-oz-tube-8
- Sika, Sikaflex-715 product data sheet (PDF): usa.sika.com/dam/dms/us01/d/sikaflex-715.pdf
- Geocel Pro Flex RV technical data (PDF): geocelusa.com/wp-content/uploads/2018/10/Pro-Flex-RV-Tech-Data.pdf
- Geocel Advanced RV EPDM technical data (PDF): geocelusa.com/wp-content/uploads/2018/11/AdvancedRVEPDM-Tech-Data.pdf
- Tremco, TREMPRO RV Roof Sealant: tremcosealants.com/products/trempro-rv-roof-sealant
- Liquid Rubber, RV Lap Sealant: shopliquidrubber.com/products/liquid-rubber-self-levelling-lap-sealant
- H.B. Fuller, EternaBond RoofSeal technical data (PDF): hbfuller.com/-/media/F3B379FDE2854B3892712F9C314938E2.pdf
- EternaBond, RV products and FAQ: eternabond.hbfuller.com/en/rv
- Keystone RV, Exterior Seal Maintenance Guide: keystonerv.com/owners/exterior-seal-maintenance-guide
- Forest River, Limited Towable Warranty (2021, PDF): forestriverinc.com/downloads/TowableWarranty2021.pdf
- South Coast AQMD Rule 1168 (PDF): aqmd.gov/docs/default-source/rule-book/reg-xi/r1168.pdf
- U.S. Department of Energy, Cool Roofs: energy.gov/energysaver/cool-roofs
- 23 CFR 658.15, vehicle width: ecfr.gov/current/title-23/chapter-I/subchapter-G/part-658/section-658.
- NIST, approximate conversions for U.S. customary measures: nist.gov/pml/owm/approximate-conversions-us-customary-measures-metric
- Engineering ToolBox, coefficients of linear thermal expansion: engineeringtoolbox.com/linear-expansion-coefficients-d_95.html
- Camping World, Best RV Roof Sealant (reseal interval, tube math): blog.campingworld.com/learn-to-rv/best-rv-roof-sealant/
- United RV Parts, sealants (retail prices, Sept. 2026): unitedrvparts.com/collections/sealants
- RecPro, RV rubber roof sealants (retail prices, Sept. 2026): recpro.com/rv-rubber-roof-sealants/

Start your coatings business with ArmorThane.
Tell us what you want to spray and where you are. An ArmorThane specialist will walk you through the equipment, chemicals, training and startup cost for the work you want to do.
- Equipment package matched to your applications
- Hands-on training and applicator certification
- Technical support once you are spraying
Tired of resealing every spring? Talk to an RV roof applicator.
Describe your RV and what the roof is doing. We'll connect you with a certified ArmorThane applicator for an honest look, whether that's a simple reseal or a seamless sprayed roof.
- Certified RV roof applicators across the U.S.
- Seamless sprayed membrane with no lap sealant to maintain
- Warranty written by the installing applicator
- Straight answer if a reseal is all you need
More to read on RV roofs
Short reads from ArmorThane on Issuu. Tap one to open it right here.